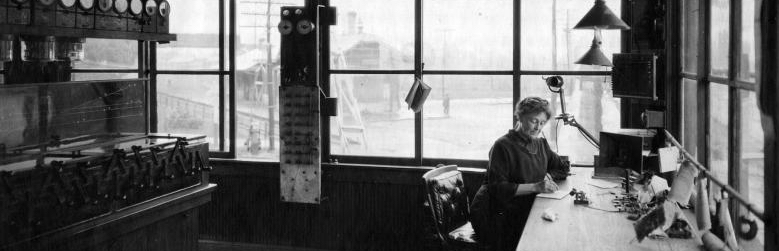

This past week I’ve been working on three additional right-hand turnouts that are key to laying another twelve feet of track on the old mainline. As a reminder, the old main is used to service industries in Circleville (the modern mainline was constructed in 1911). In a future post, I’ll reflect on the five turnouts (constructed two months ago) that lead to these three.
Some folks are able to build turnouts on a fixture in an hour or two. I cannot, even though I’ve built at least a dozen. Likely the problem is that I figure out all of the tricks for speedy assembly during a building session, then forget those hard-learned tricks before I build another set!
I cut the rail I needed for the eight turnouts along this stretch (four righthand, four left) last autumn, along with doing the filing needed for the frog and switch points. That left only locating and filing the stock rail bases where the point rail would sit, some bending operations, cleaning the rail, and cutting the PC board ties before I started soldering.
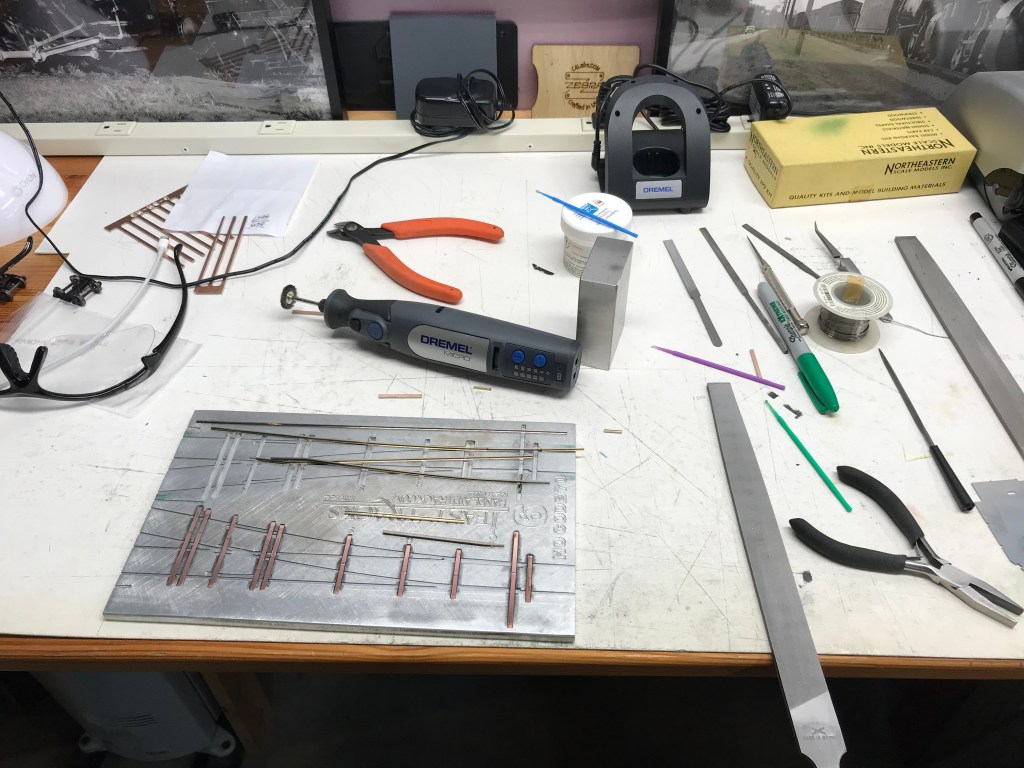
After completing that work and assembling the turnouts, I spent a good deal of time tuning the points to allow smooth operation on both routes. I tried some new ideas on the shaping the points that seemed to work well (my growing collection of files came in handy here) – though the real test will be running trains over them.

Taper on the top plane starts at the point and continues to the back edge of the throw bar 

The point is filed low enough to fit under the adjoining the railhead to “hide” it from flanges
Arranging the turnouts on the layout was mostly completed last summer, using Fast Tracks paper templates as stand-ins. I spent several hours experimenting with different arrangements, trying to find the best balance of usability and aesthetics. The tracks competing for turnout space along the old main were:
- The west end of Esmeralda Canning’s siding
- The east end of a runaround on the old main
- A spur to Pickaway Grain and Maizo Mills
- A spur to Enderlin Coal
A fourth turnout is in the immediate vicinity, but as it was on the runaround track (not the old main), it had no impact on the arrangement.
Arrangement 1 
Arrangement 2 
Arrangement 3 
Arrangement 4 – Final
Referring to the gallery of photos above, I decided against Arrangement 1 primarily because it would require a switchback to get to Enderlin Coal. In reality, there was a switchback in this location that led to Pickaway Grain’s own coal yard. That made a turnout here defensible, but I wanted to avoid the complexity.
Arrangement 2 solved the switchback issue, but cramped Pickaway Grain’s loading area and crowded Enderlin Coal and Esmeralda too closely, which went against my aesthetic interest in creating breathing room between industries. These first two arrangments also made Esmeralda’s siding shorter than I wanted (only 2.5-3 cars) due to it’s west end turnout placement.
To lengthen Esmeralda’s siding, I tried Arrangement 3. This involved moving its turnout to the right, displacing Enderlin’s turnout back to the switchback. This was better for Esmeralda, but… the switchback.
The biggest change with Arrangement 4 was the removal of Enderlin Coal. This is the arrangement I decided on, for a couple of reasons. In my last post about the industries I selected, I mentioned eliminating Enderlin Coal to “mitigate problems elsewhere” – this switch complex was that “elsewhere”. Removing Enderlin and its turnout provided breathing room and simplified this area as well as giving space back to the rest of the layout. See the previous post for more information.
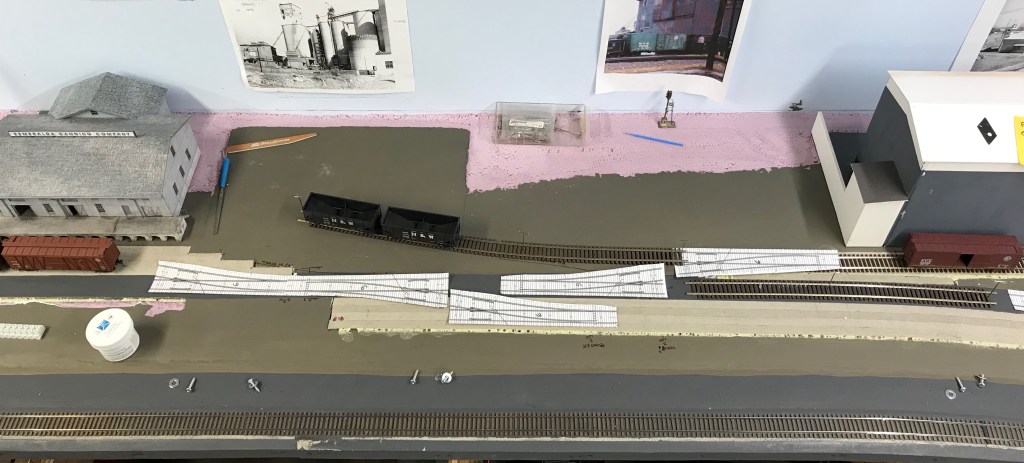
Fast forward back to this past week. After getting the turnouts built and placed on the layout, I tweaked them a bit more to account for track spacing and the already-installed Pickaway Grain/Maizo turnout.

In the photo above, the left turnout leads from the old main to the east end of the runaround, the center-left turnout (on the runaround) leads to a short 1-car stub-end spur, the center-right turnout is the west end of Esmeralda Canning’s siding and the rightmost turnout leads to Pickaway Grain and Maizo Mills.
The final photo below is looking railroad west (compass north) to illustrate the nicely-developing industrial area along the old main. Complete with captions!

Thanks for reading my blog. If you have any questions or additions, please share a comment in the section below. If you know others that might be interested in this blog, feel free to share the link.
